Create Custom Assistance Barcodes
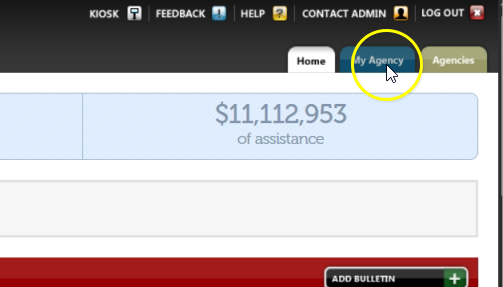
To create a custom assistance barcode, from the Oasis homepage, click “My Agency.”
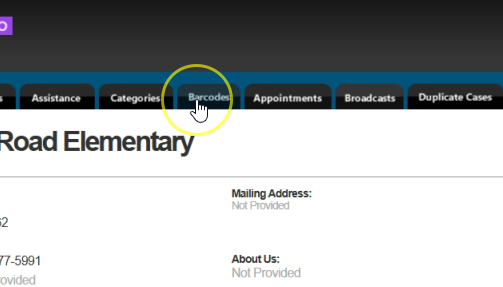
Click on the “Barcodes” tab.
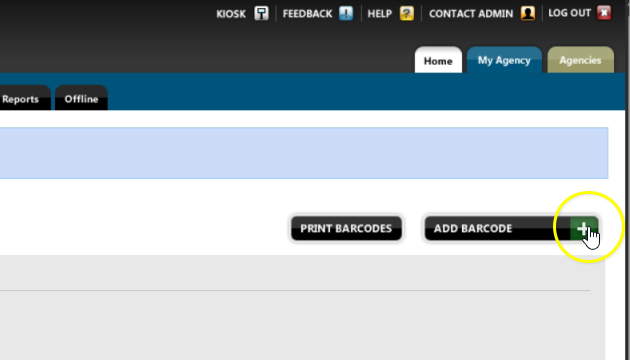
Click “Add Barcode.”
Click the space under “Barcode Name” and enter a name for your barcode. Then, click “Assistance Category” and select the category that applies. Add an “Assistance Amount,” and if you want to be able to change this amount later when using the barcode, check “Allow Editing Assistance Amount in Barcode Mode.” Next, open the “Assistance Unit” drop-down menu and select the correct unit. When finished, click “Add Barcode,” then scroll down the page to find the barcode you just created.
Editing a Barcode
To edit a barcode, find the barcode you created and click “Edit.” You can adjust details such as changing the number of pounds from 25 to 35, or update other settings as needed.
Printing a Barcode
When ready to print, click “Print Barcodes”. Give your page a name and choose either a one-column or two-column layout.
Click the plus sign next to “Barcodes To Include.” From the list, click “Food” and add the barcode you created. Then click “GNAP” and select “GNAP – Electronic Assistance,” then click “TEFAP” and select “TEFAP – Electronic Assistance.”
Next, select any additional barcodes that you would like to appear on your print-out. Once all the barcodes have been added, click “Print Barcodes” and then choose “Print.” Be sure to save the barcodes as a PDF on your computer so you can easily print additional copies in the future without recreating them.