Kiosk Mode
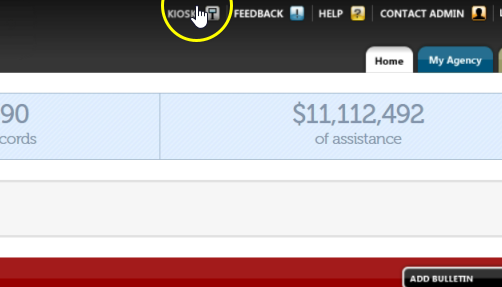
From the Oasis Homepage, click “Kiosk.”
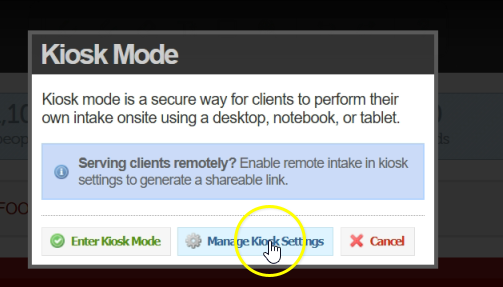
When this box appears, click “Manage Kiosk Settings.”
When the “Edit Kiosk Settings box” pops up, first select “Enable Remote Intake.” Enter a generic welcome message in the space. We can also create the first message for you, or you may type your own.
Click “Entry Agent For Cases Entered During Remote Intake.” Choose an Entry Agent for cases. This can be any staff member at your agency.
Click “Email Notifications For Remote Intake Submissions.” Select the person who will receive email alerts when a submission comes through kiosk mode. You can also select no one if no one wants to receive the emails.
Click on “Verification Options For Remote Intake.” We recommend using “reCAPTCHA.” You can also turn on Google Translation by selecting “Enable Google Translation.” The only language available right now is Spanish. Select “Show Client ID Card on Intake Confirmation Screen” so neighbors can get their barcode as soon as they finish the form.
Setting note: If you choose “Enable Kiosk Duplicate Auto Merge,” it will disable the option to collect a digital signature for the Release of Information (ROI). Only one of these options can be active at a time.
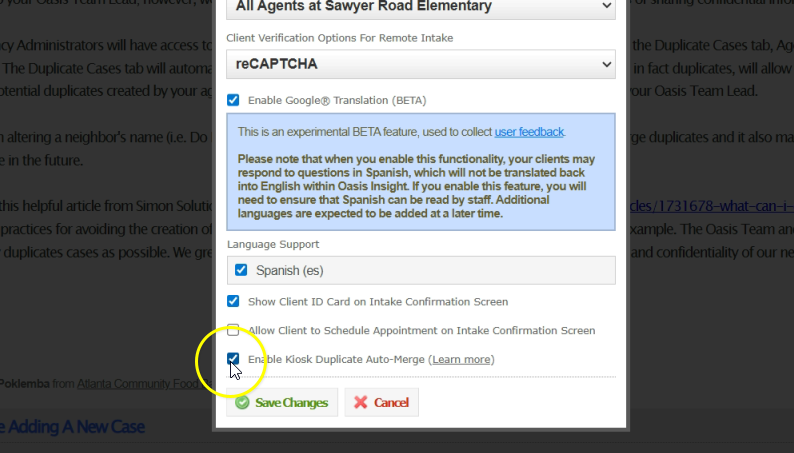
Choosing “Enable Kiosk Duplicate Auto-Merge” is recommended to avoid the creation of duplicate cases.
Click on the “Demographics” tab. The first three options need to stay checked. The other ones are optional and can stay unchecked unless your agency wants to collect that information. You do not need to select anything under “Assistance Requests” or “Documents” unless your agency requires it. When you finish selecting options, click “Save Changes.”
A custom URL for your agency’s kiosk will appear. You can share this URL on your agency website, Facebook page, or anywhere else. We will turn it into a QR code and create a flyer for you.