Neighbor Scheduling & Appointments
Creating and Managing Appointment Types
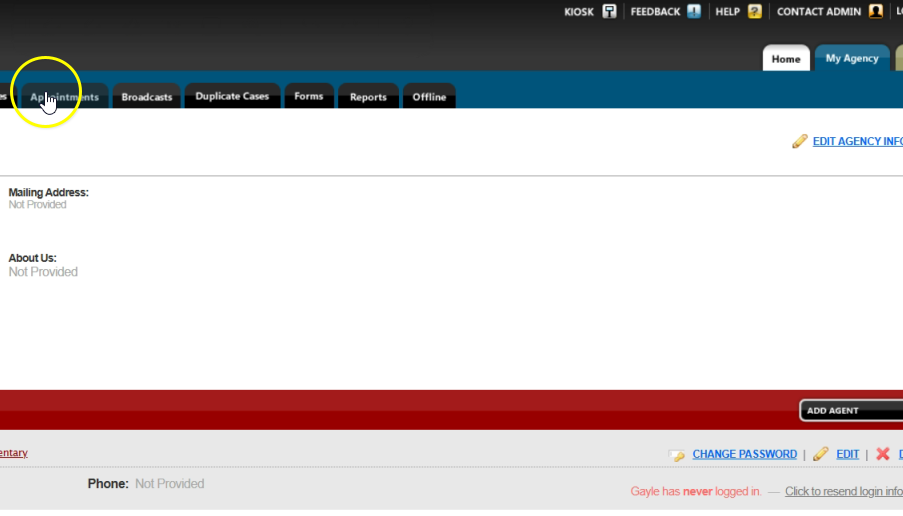
Appointment types represent the different events or services your agency offers, such as recurring weekly distributions or one-time events (e.g., a Thanksgiving distribution). From the Oasis homepage, click “My Agency” and then click the “Appointments” tab.
From the Appointments page, click “Manage Appointment Types.” To create a new appointment type, click “Add Appointment Type.” Choose the schedule type, either Specific Date or Recurring. Enter a name, description, and client instructions.
Select the day(s) of the week, repetition pattern (e.g., first and third Fridays), and set the start time, end time, and capacity. If you need to add more dates, click “Add Date.” Click the drop-down menu next to “Client Appointment Reminders,” and select reminder method and how many hours before the appointment reminders will be sent. When finished, click “Add Appointment Type.”
Scheduling Appointments
To schedule an appointment for a case, click “My Agency” from the Oasis homepage. Search for case using the search bar or locate the case from your “Recent Cases” list. Open the case, click the “Appointments” tab, and then select “Add Appointment.”
Choose an appointment type from the drop-down list located under “Appointment Type.” Select the desired date and time slot. Notes can be added in the description box if needed. Click “Add Appointment” to save. The appointment will now appear under the case’s Appointments tab.
Viewing and Printing Appointments
To view all appointments for your agency, click “My Agency” from the Oasis homepage. Click the “Appointments” tab. You can filter appointments by type (for example, Thanksgiving Distribution) or date range. To print or export a list of appointments, click “Print CSV.”
You can filter the report by date range, agent, or appointment type, then click “Next.” Choose all the fields to include and then click “View Report.” Click “Print Report” to print. To save the list of appointments for your agency, click “Save.”